Applicator★
The Applicator is a tool for accessing a brick's components and modifying them to your own preferences.
Equipping the Applicator★
There are two ways to equip the Applicator.
Through a keybinding★
There is no default Applicator keybind. You can set one through the control settings.
Through the Tool Wheel★
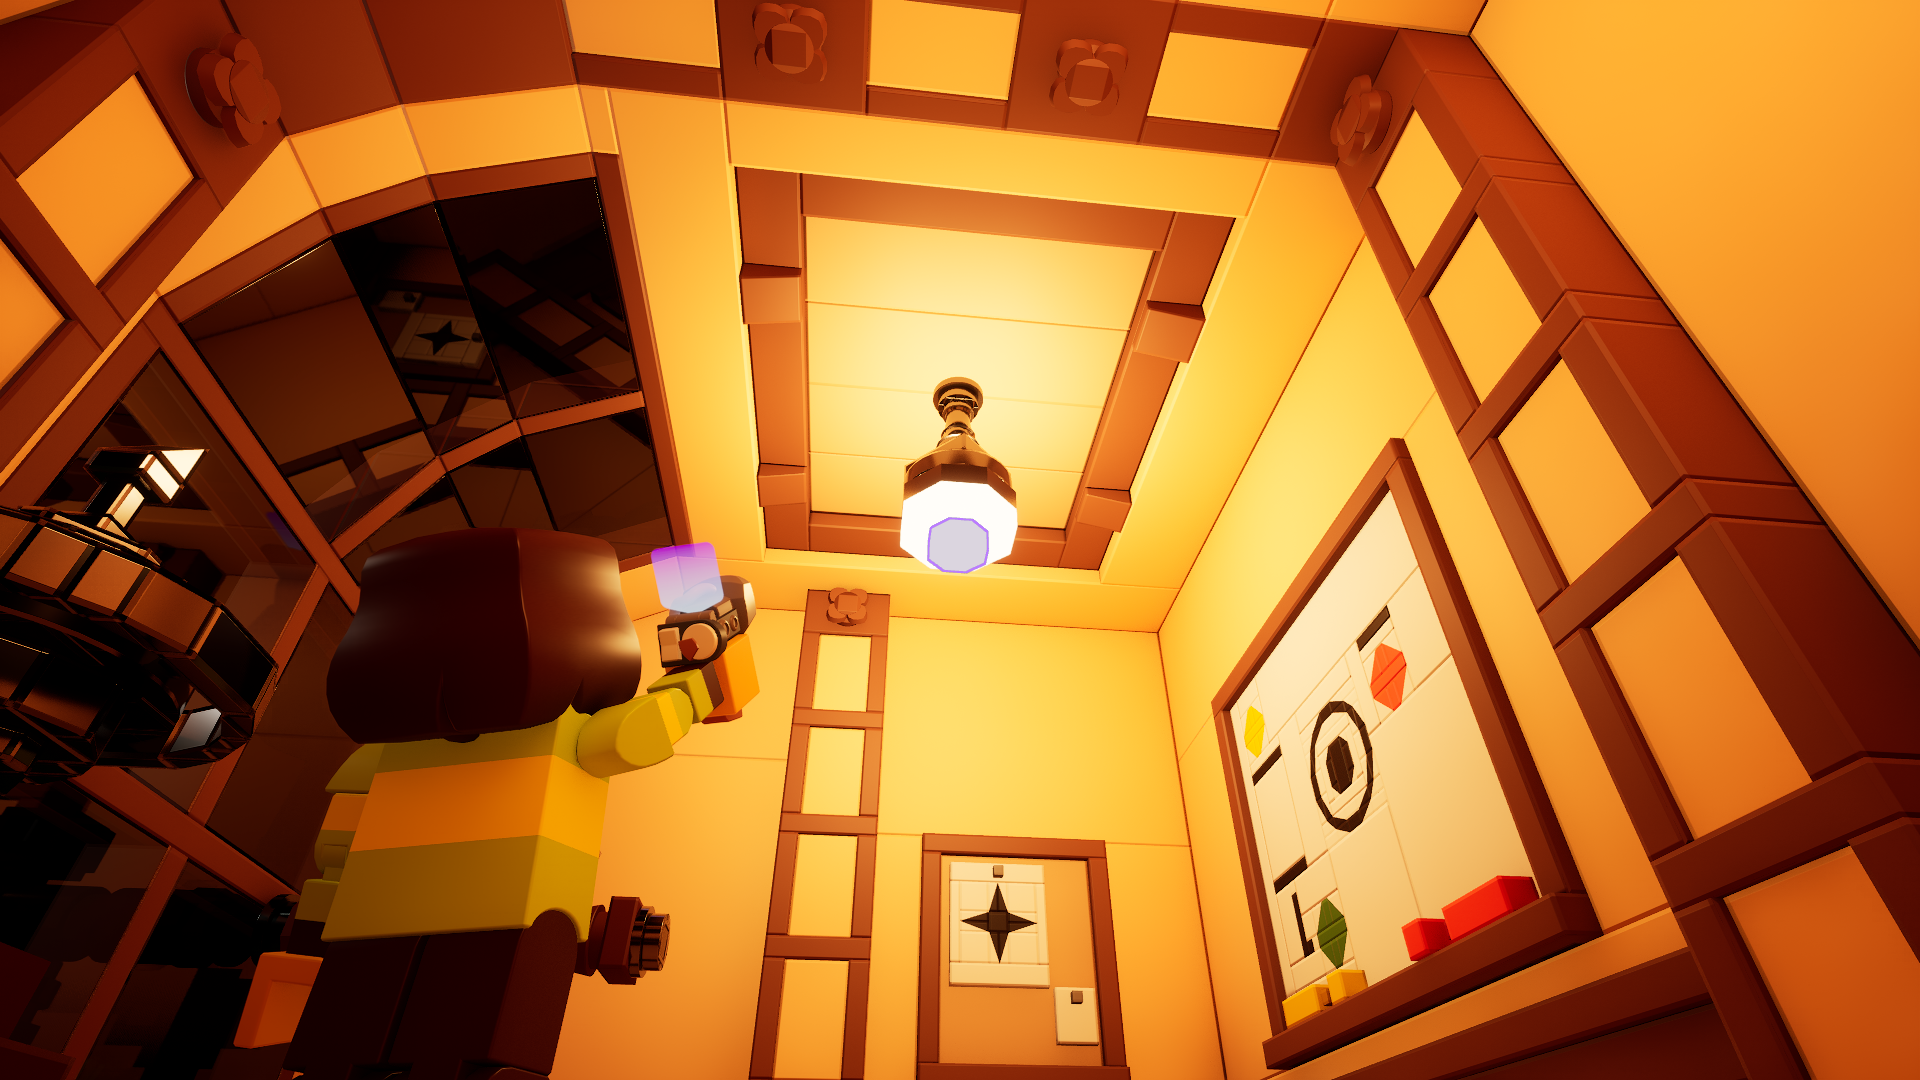
Hold G to access the Tool Wheel. This temporarily frees your mouse.
Drag your cursor to the bottom right corner of the tool wheel.
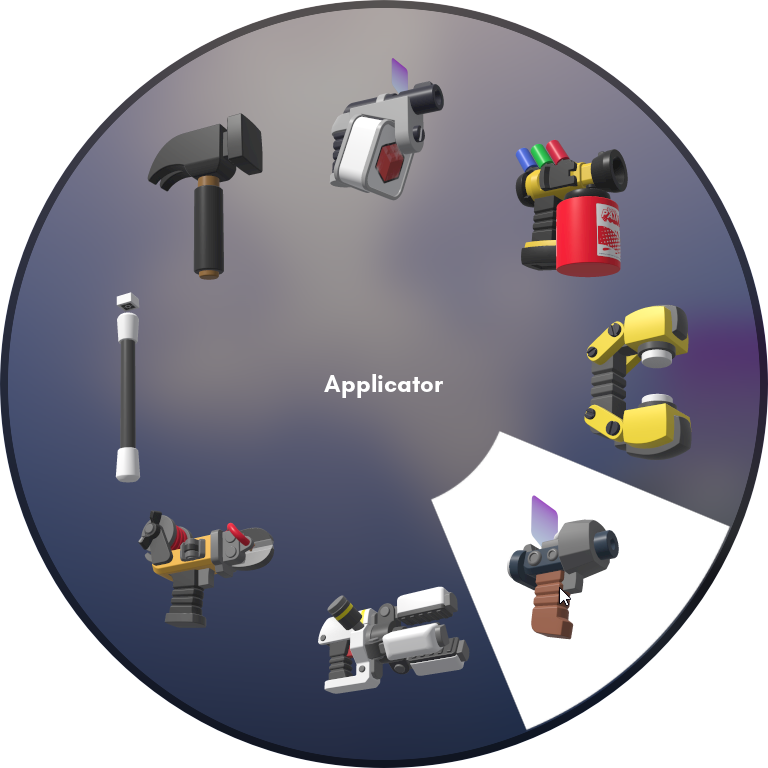
Applicator on the Tool Wheel in the highlighted part on the bottom right corner with a cursor.
Release G to equip the Applicator.
Fetching components of bricks★
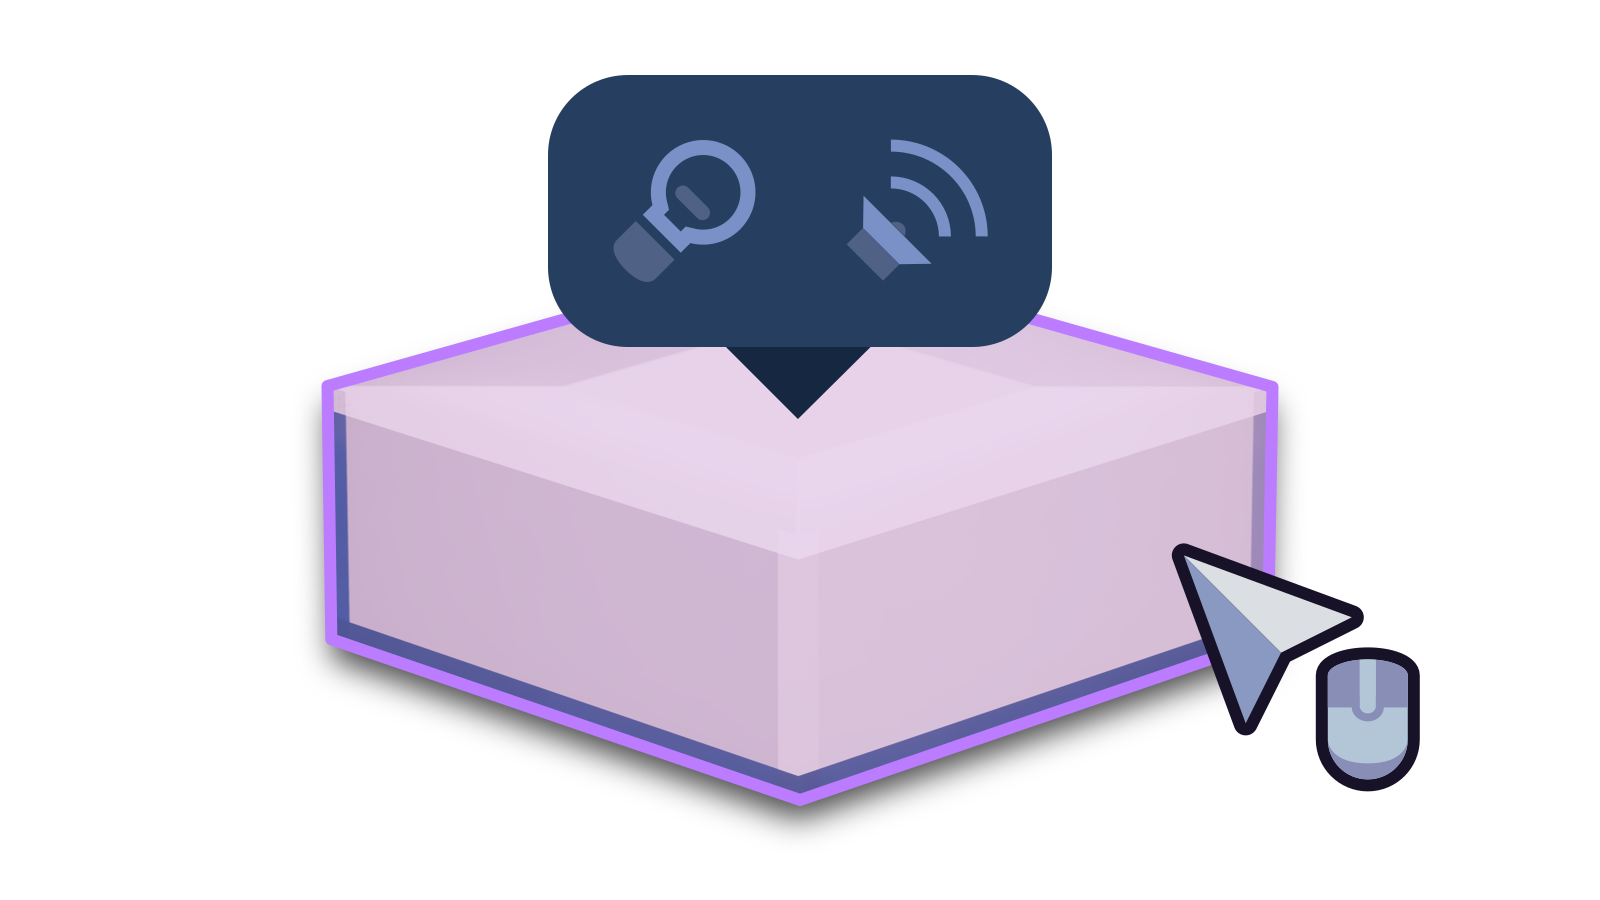
Hovering over a brick will display a bubble showing all of its components without having to open the Applicator menu.
Changing a brick's properties★
When clicking on a brick, the Applicator menu will present its properties. You can toggle collisions and visibility.
Visibility★
Toggle this switch in the Applicator menu to determine if the brick is visible to players. This will not make the brick invisible to tools.

Invisible bricks are shown as striped wireframe shapes.

Collision★
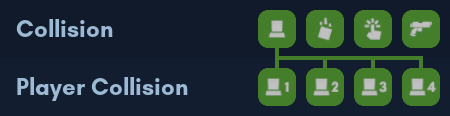
There are 4 universal toggles for collision and 4 more toggles for team-based collisions in the Applicator menu.
- Player collision: Whether all players collide with this brick.
Universal toggle for all team collisions.- 1 Player 1 collision: Whether players in team 1 collide with this brick.
- 2 Player 2 collision: Whether players in team 2 collide with this brick.
- 3 Player 3 collision: Whether players in team 3 collide with this brick.
- 4 Player 4 collision: Whether players in team 4 collide with this brick.
- Physics collision: Whether other physics objects collide with this brick.
Also determines if this brick is included in the collider generation of the parent grid it is on. - Interact collision: Whether interacting with objects passes through this brick.
- Weapon collision: Whether projectiles from weapons pass through this brick.
Changing an entity's properties★
When clicking on an entity, you can change its size and other properties that are specific to the entity. For example, a wheel allows you to select between high friction or low friction.
Note
Entities cannot have components.
Adding components★
Click the button next to the Component text to open up a dropdown menu containing attachable components. Only one of each component can be attached per brick.
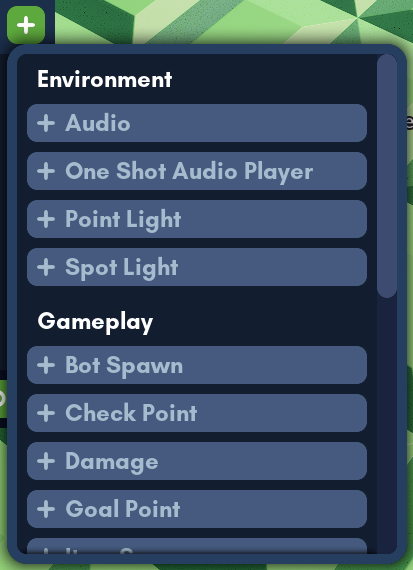
The new component will appear in the Applicator menu, and if it has any visual or auditory function, this will be reflected around an area of the brick.
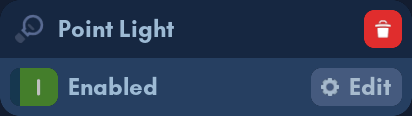
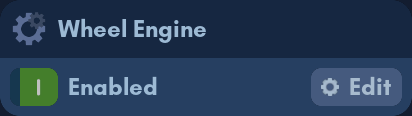
Editing components★
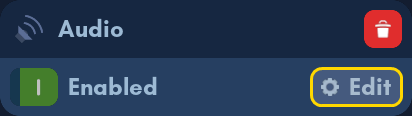
Click the Edit button on a component to edit its parameters while the Applicator menu is open.
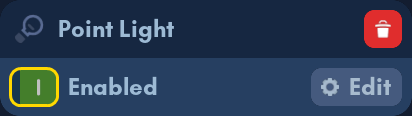
Some components may have a toggle to enable or disable the component included to the left side of the Edit button.
This toggle is included in the additional wiring ports of the component.
Removing components★
Click the button on a component to remove it from the brick.
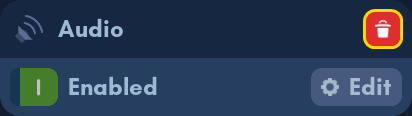
Components that already come attached with a brick will not be able to be removed from the brick.
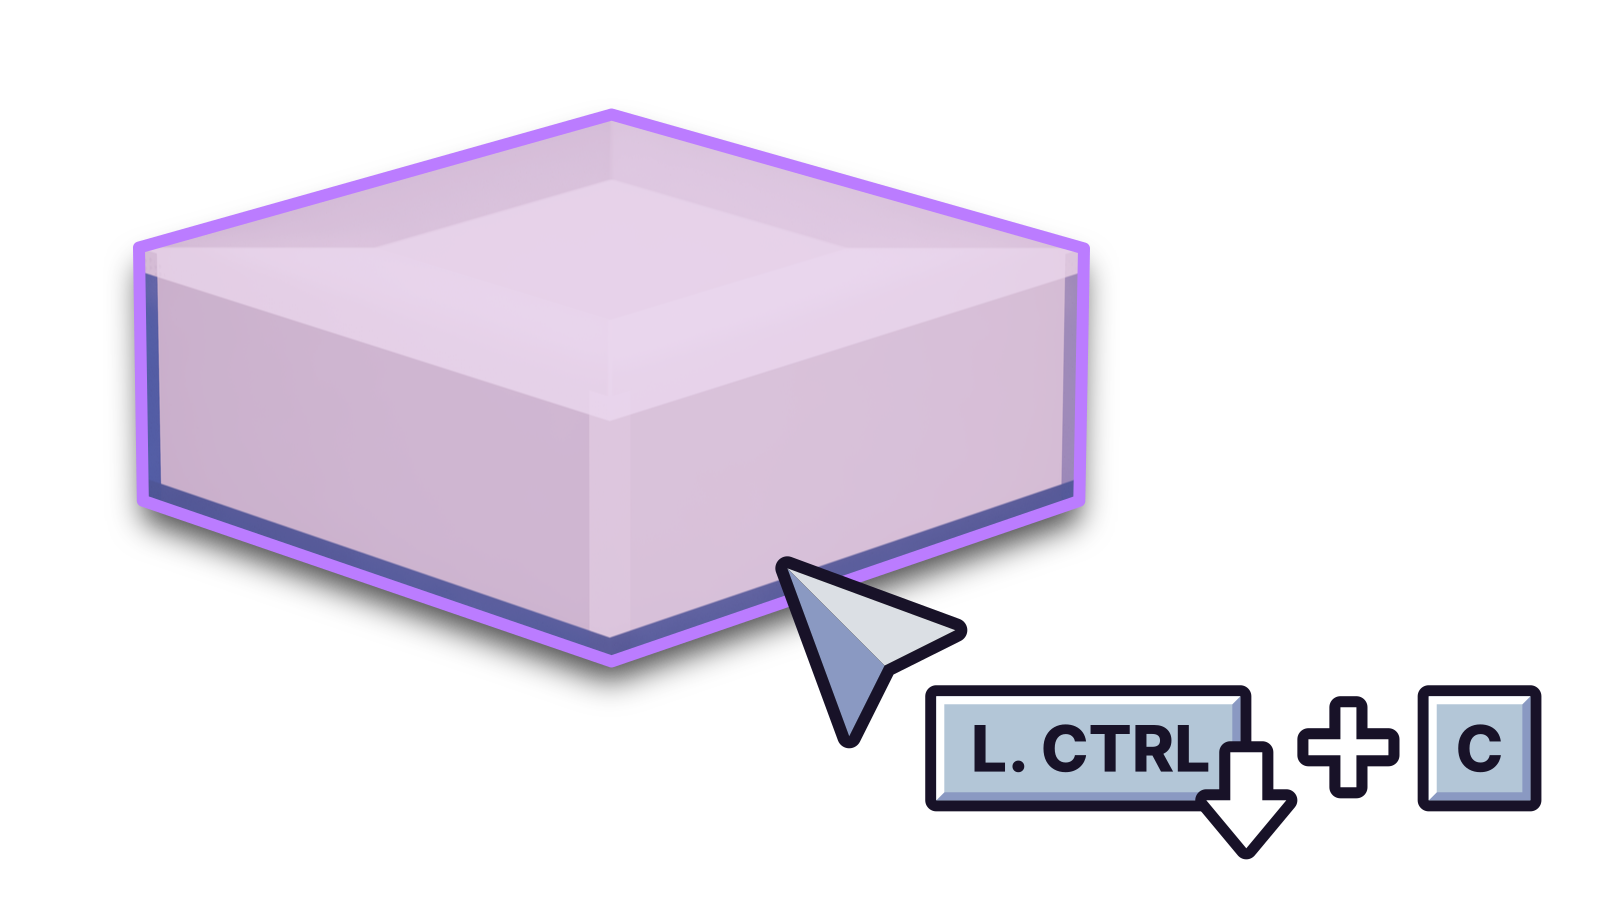
Copying properties from objects★
Holding Left Ctrl and pressing C will copy properties and components from the object you're looking at to the clipboard.
Pasting properties from objects★
Holding Left Ctrl and pressing V will paste properties and components from the clipboard into the object you're looking at. This will also overwrite any existing components.

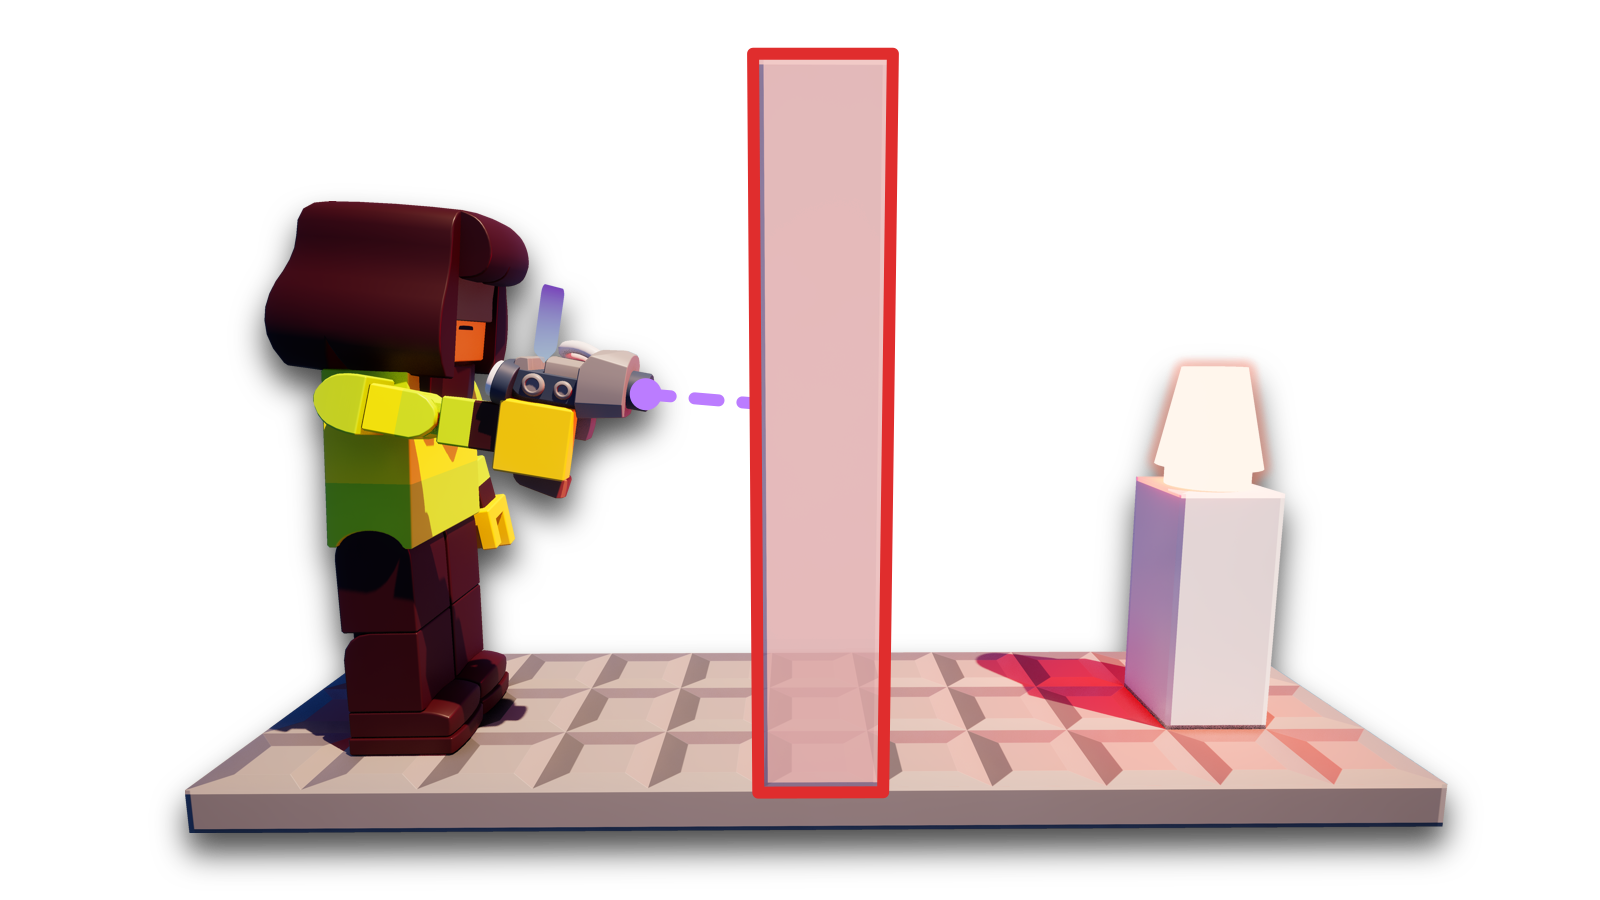
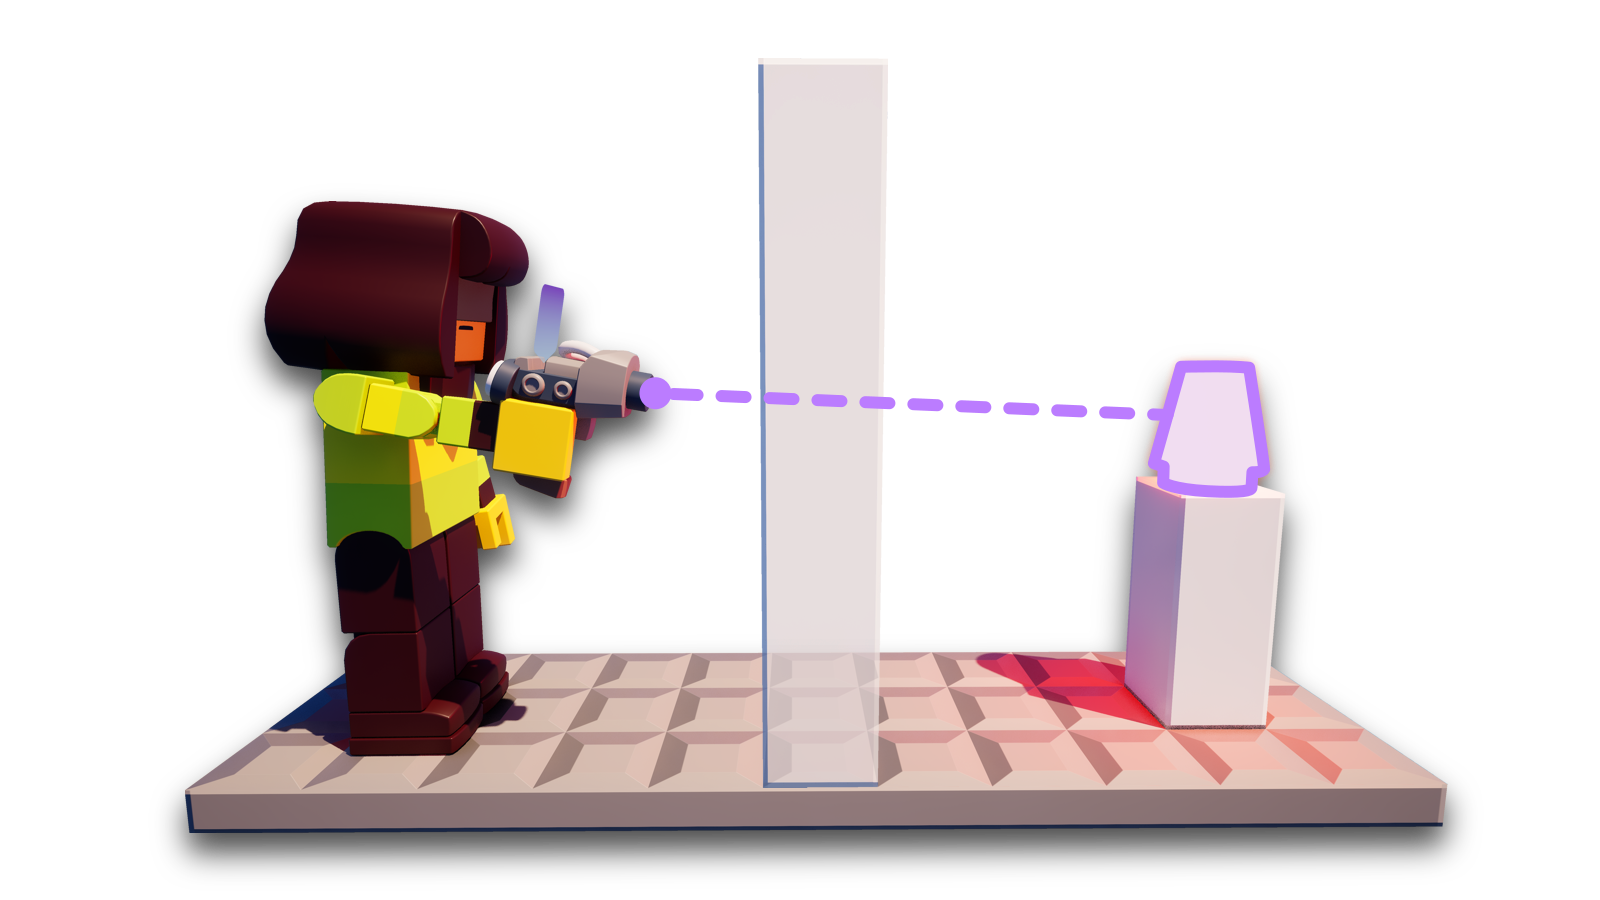
Applicator X-Ray★
Usually, without X-Ray mode on, your applicator will be physically blocked by bricks that act as barriers to an interactive brick. However, you can solve this by turning on the X-Ray mode.
X-Ray mode is useful for accessing bricks with components that can't be accessed behind bricks even when they're transparent.
The C key acts as a toggle for the X-Ray mode.
To check if your Applicator's X-Ray is enabled, look at the text hint on the bottom-left corner that says
Enable X-Ray or Disable X-Ray.