Painter★
The Painter can be used to paint objects in different colors and apply various visual materials to them.
Equipping the Painter★
Through a keybinding★
The Painter's default equip keybind is E. You can change this in the Options menu.
Switching from the Builder?
If you press too long with the Builder equipped before swapping to the Painter, the game will interpret your press of the key as a hold, and you will end up bringing up the enlarged painter menu instead.
Through the Tool Wheel★
Hold G to access the Tool Wheel. This temporarily frees your mouse.
Drag your cursor to the top-right corner of the tool wheel.
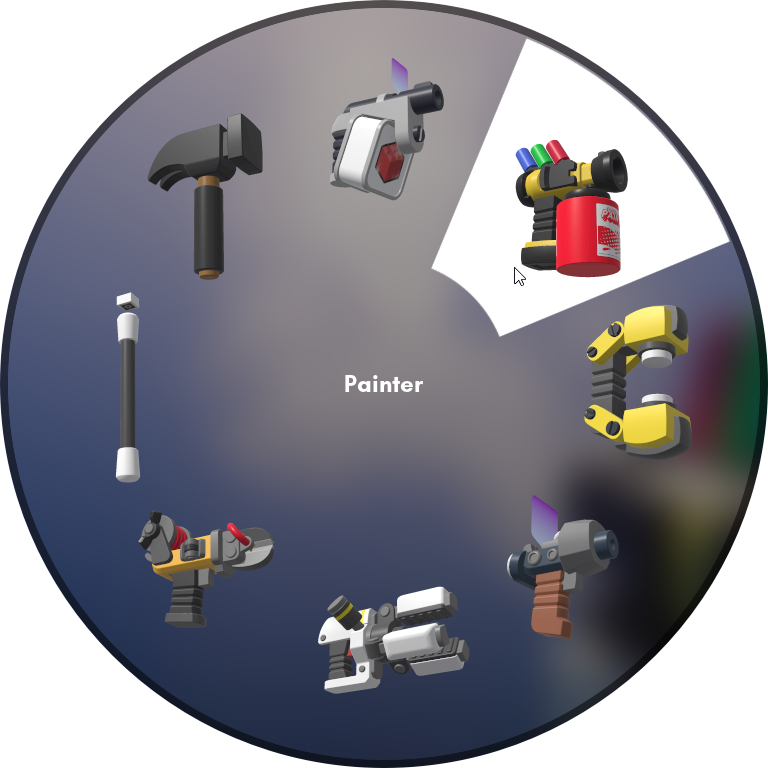
Painter on the top-right corner of the Tool Wheel
Release G to equip the Painter.
Painter interface★
Painter interface
-
The bottom right of your screen will contain the following user interface elements:
- The key-binding for equipping the Painter or opening the advanced color and material selector
- The current selected color and material
- The server palette (up to 16 columns with 16 colors per column)
Selecting colors (simple)★
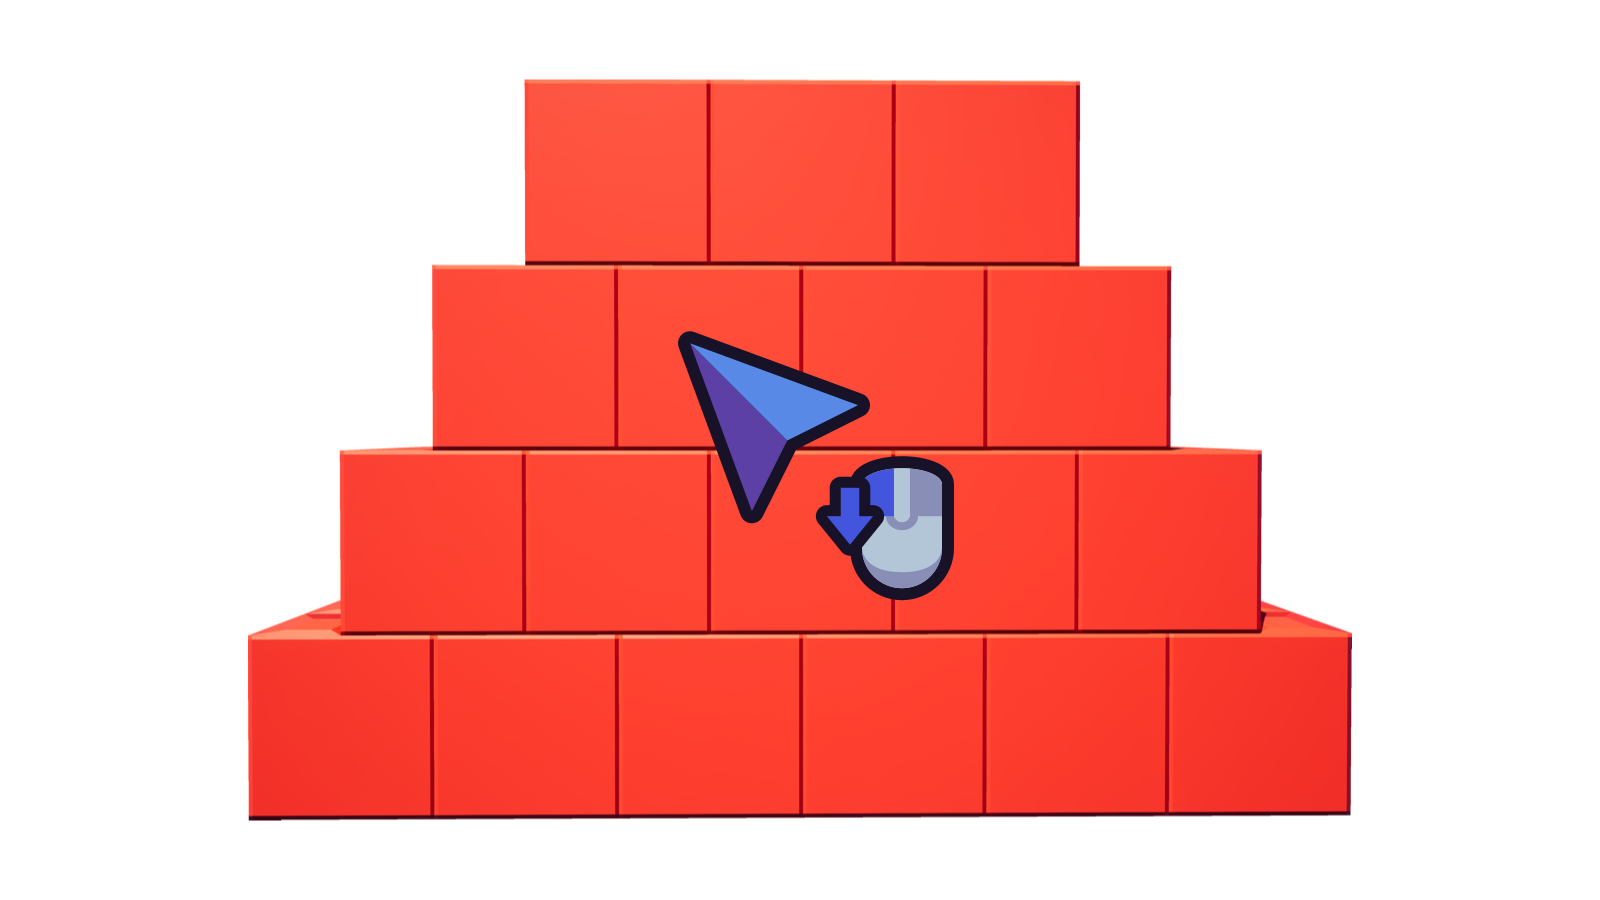
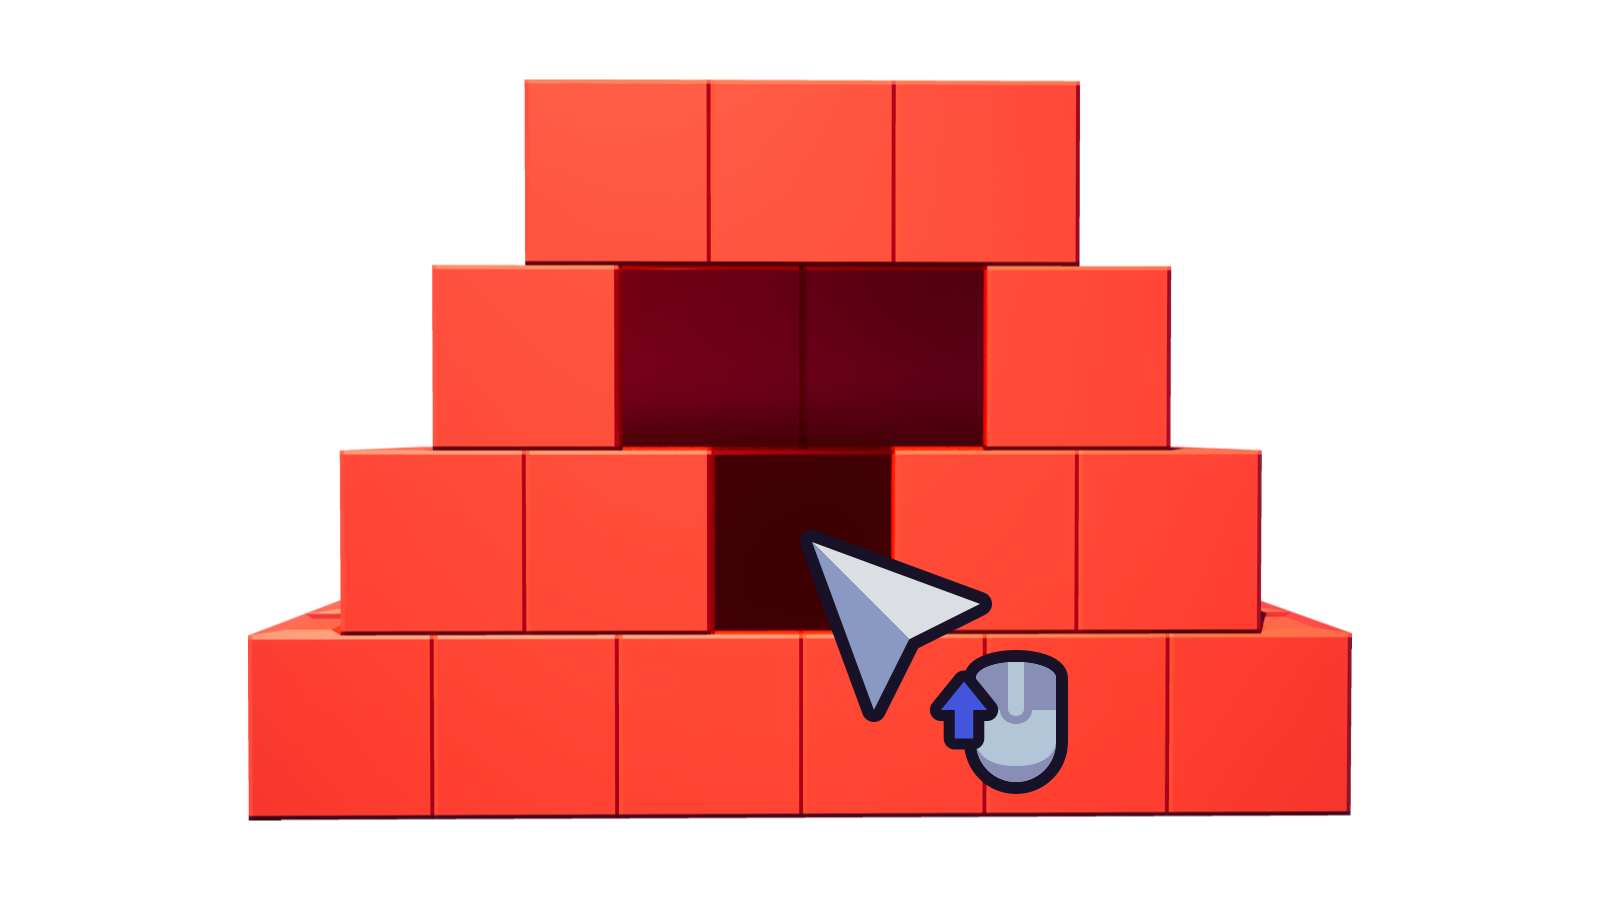
You can use the Mouse Scroll Wheel to navigate up/down the palette vertically and select your color.
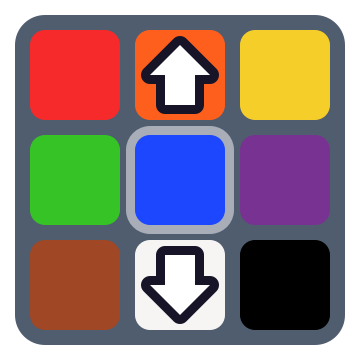
- Scrolling down from the last color of a column will move forward to the first color of the next column.
- Scrolling up from the first color of a column will move back to the last color of the previous column.
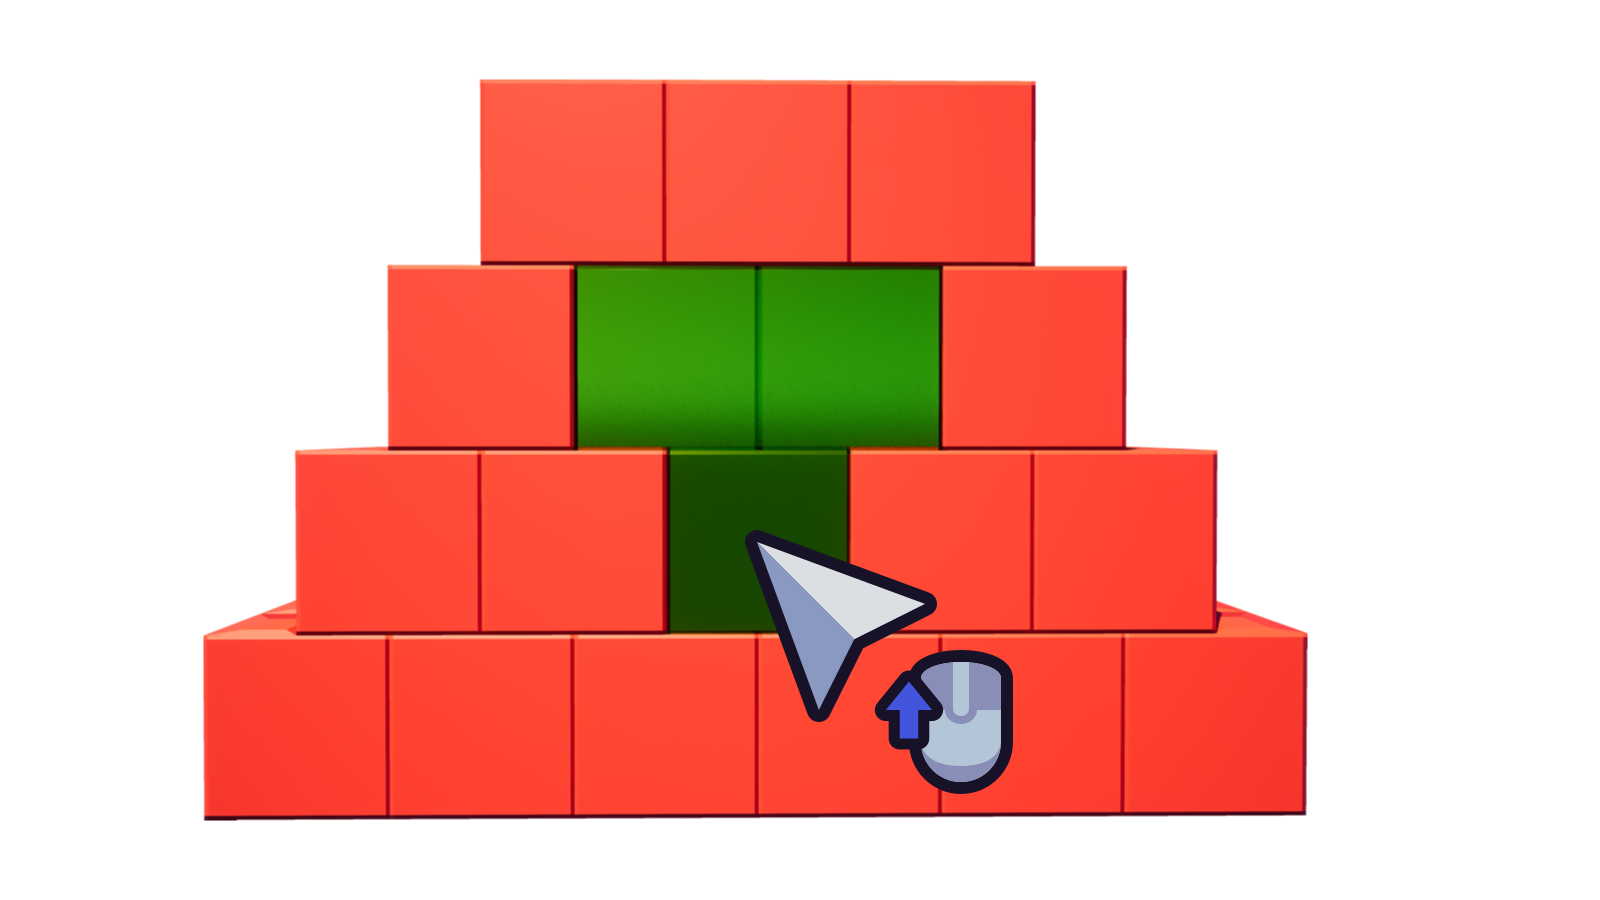
To navigate horizontally on the palette, you can hold Left Ctrl and:
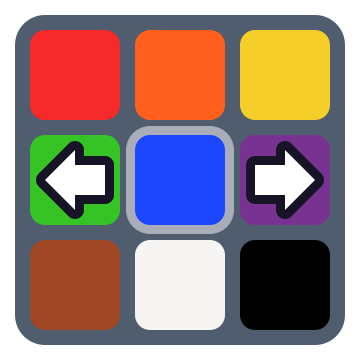
- Scroll the Mouse Scroll Wheel up to select the color left of the current color.
- Scroll the Mouse Scroll Wheel down to select the color right of the current color.
Observe the bottom right of your screen. There is the server palette there.
Use your cursor to hover over the color you want and click it.
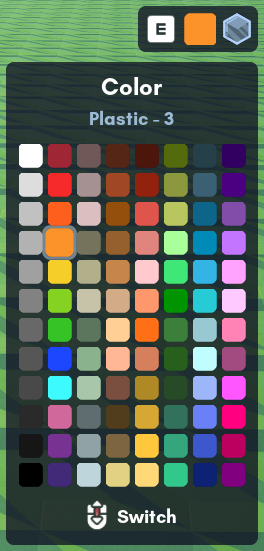
Selecting colors and material (advanced)★
Hold E for atleast half a second to open the advanced color and material selector. This will also temporarily free your cursor if you have Free Cursor off.
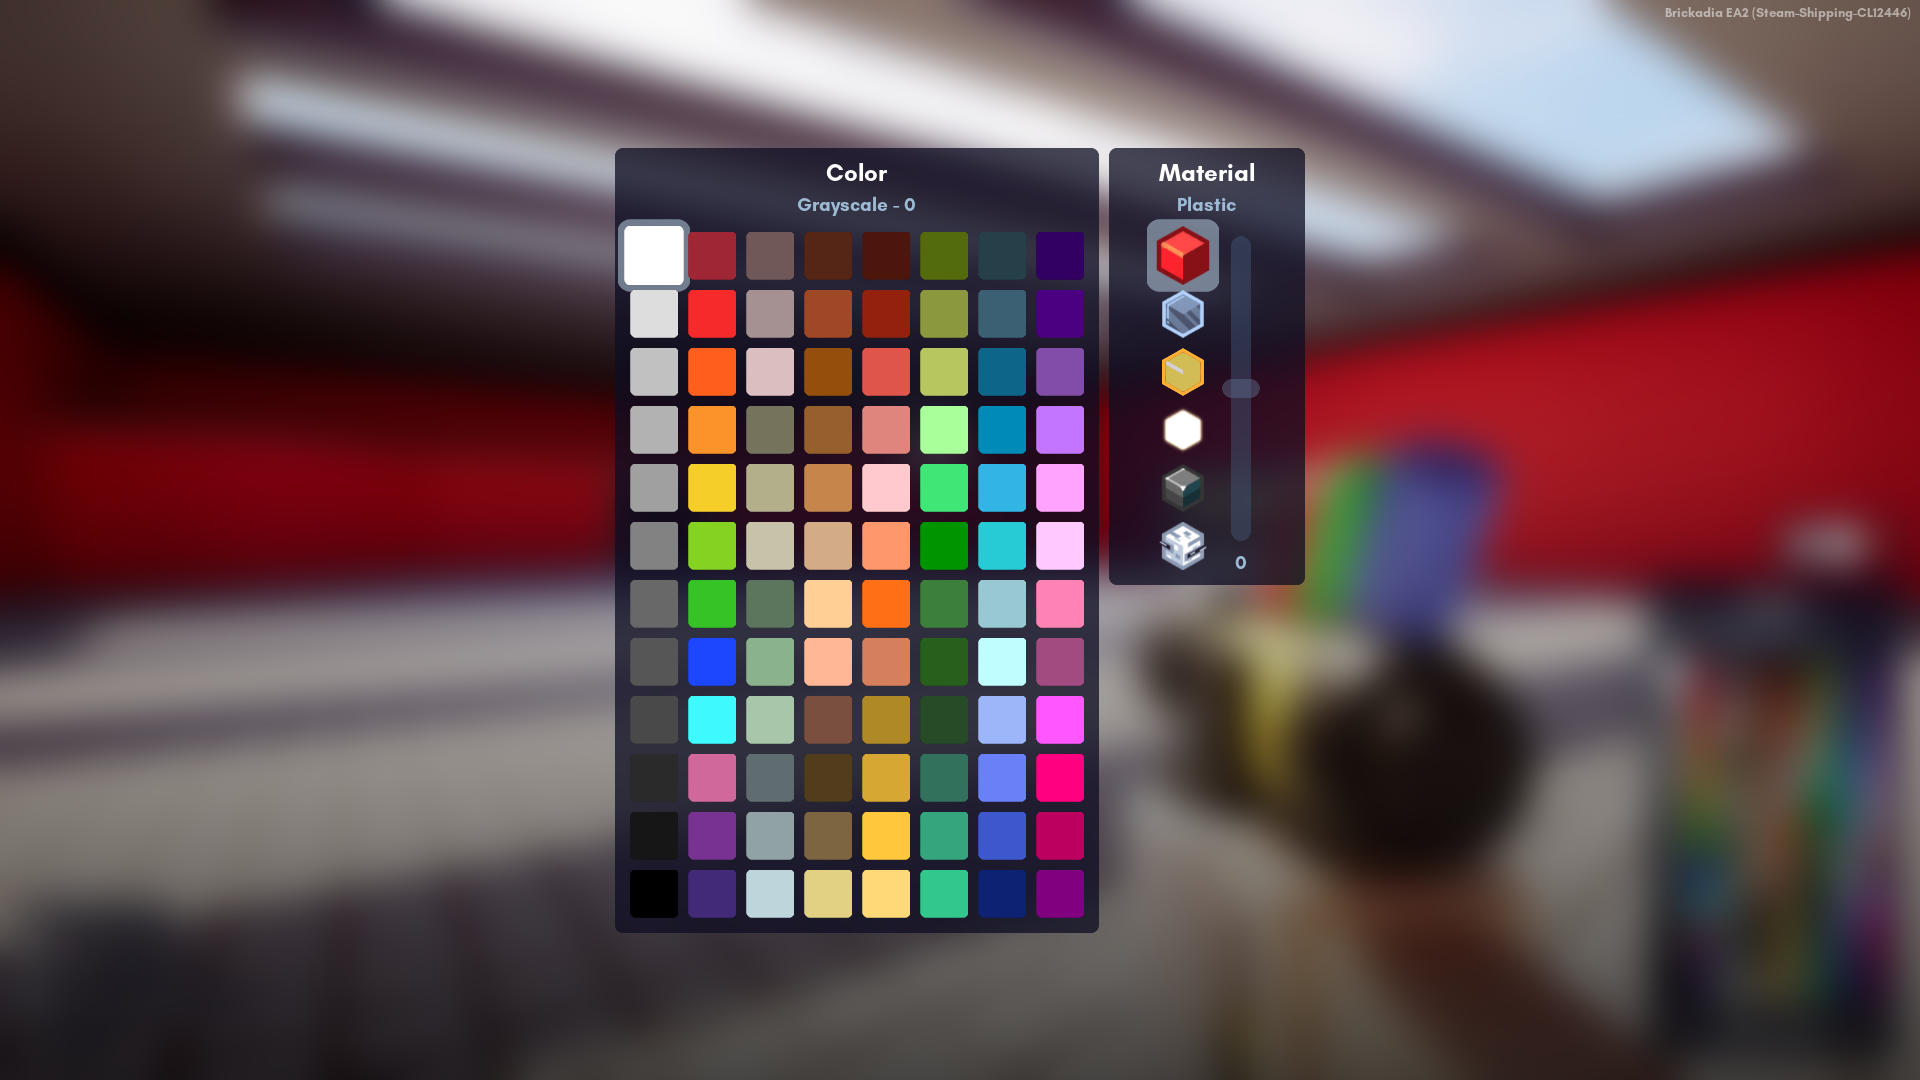
On the left, you will have the whole palette, enlarged. Click the Left Mouse Button on one of these colors to select them as the current color.
On the right is the material selector and the material intensity slider. You can choose one of the following materials:
 Plastic
No intensity support Glass
Glass
Intensity affects opacity Transparent Plastic
Intensity affects opacity Glow
Glow
Intensity affects emission level Metallic
Intensity affects roughness Hologram
Intensity affects opacity
To adjust the current material intensity, hold the Left Mouse Button on the slider knob and move your mouse up or down to select the material intensity you want for the current selected material. Release the Left Mouse Button when you are done.
When you are done selecting a color, a material or material intensity, simply release E.
Color and material support★
Bricks support color, material and material intensity painting.
Entities on the other hand only support color painting.
| Object Type | Color | Material | Intensity |
|---|---|---|---|
| Bricks | Yes | Yes | Yes |
| Entities | Yes | No | No |
Painting objects★
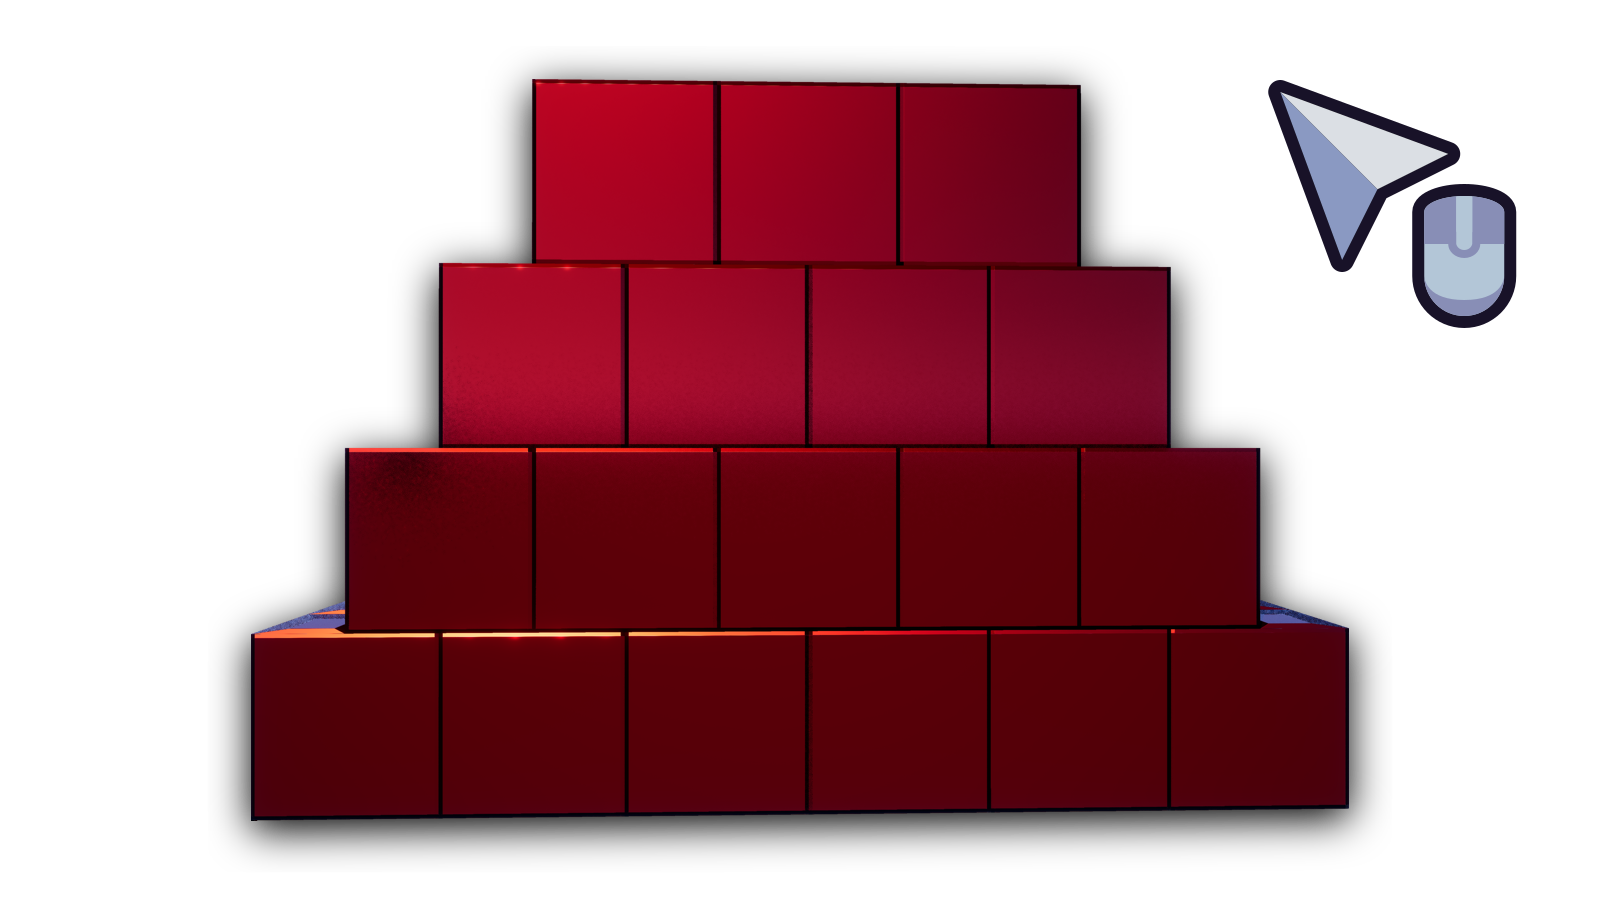
Hold the Left Mouse Button to start painting objects.
Release the Left Mouse Button once you are done with painting objects.
Every brick or entity you have painted within the same Left Mouse Button hold period will count as one history (undo/redo) action unless you have the Merge Paint Stroke Undo option disabled.
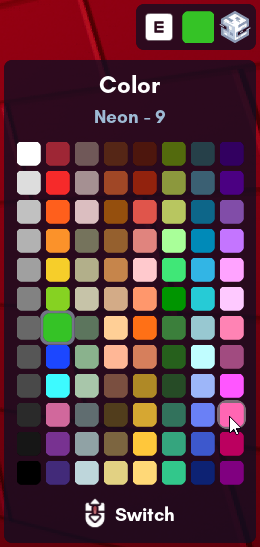
Painting with material only★
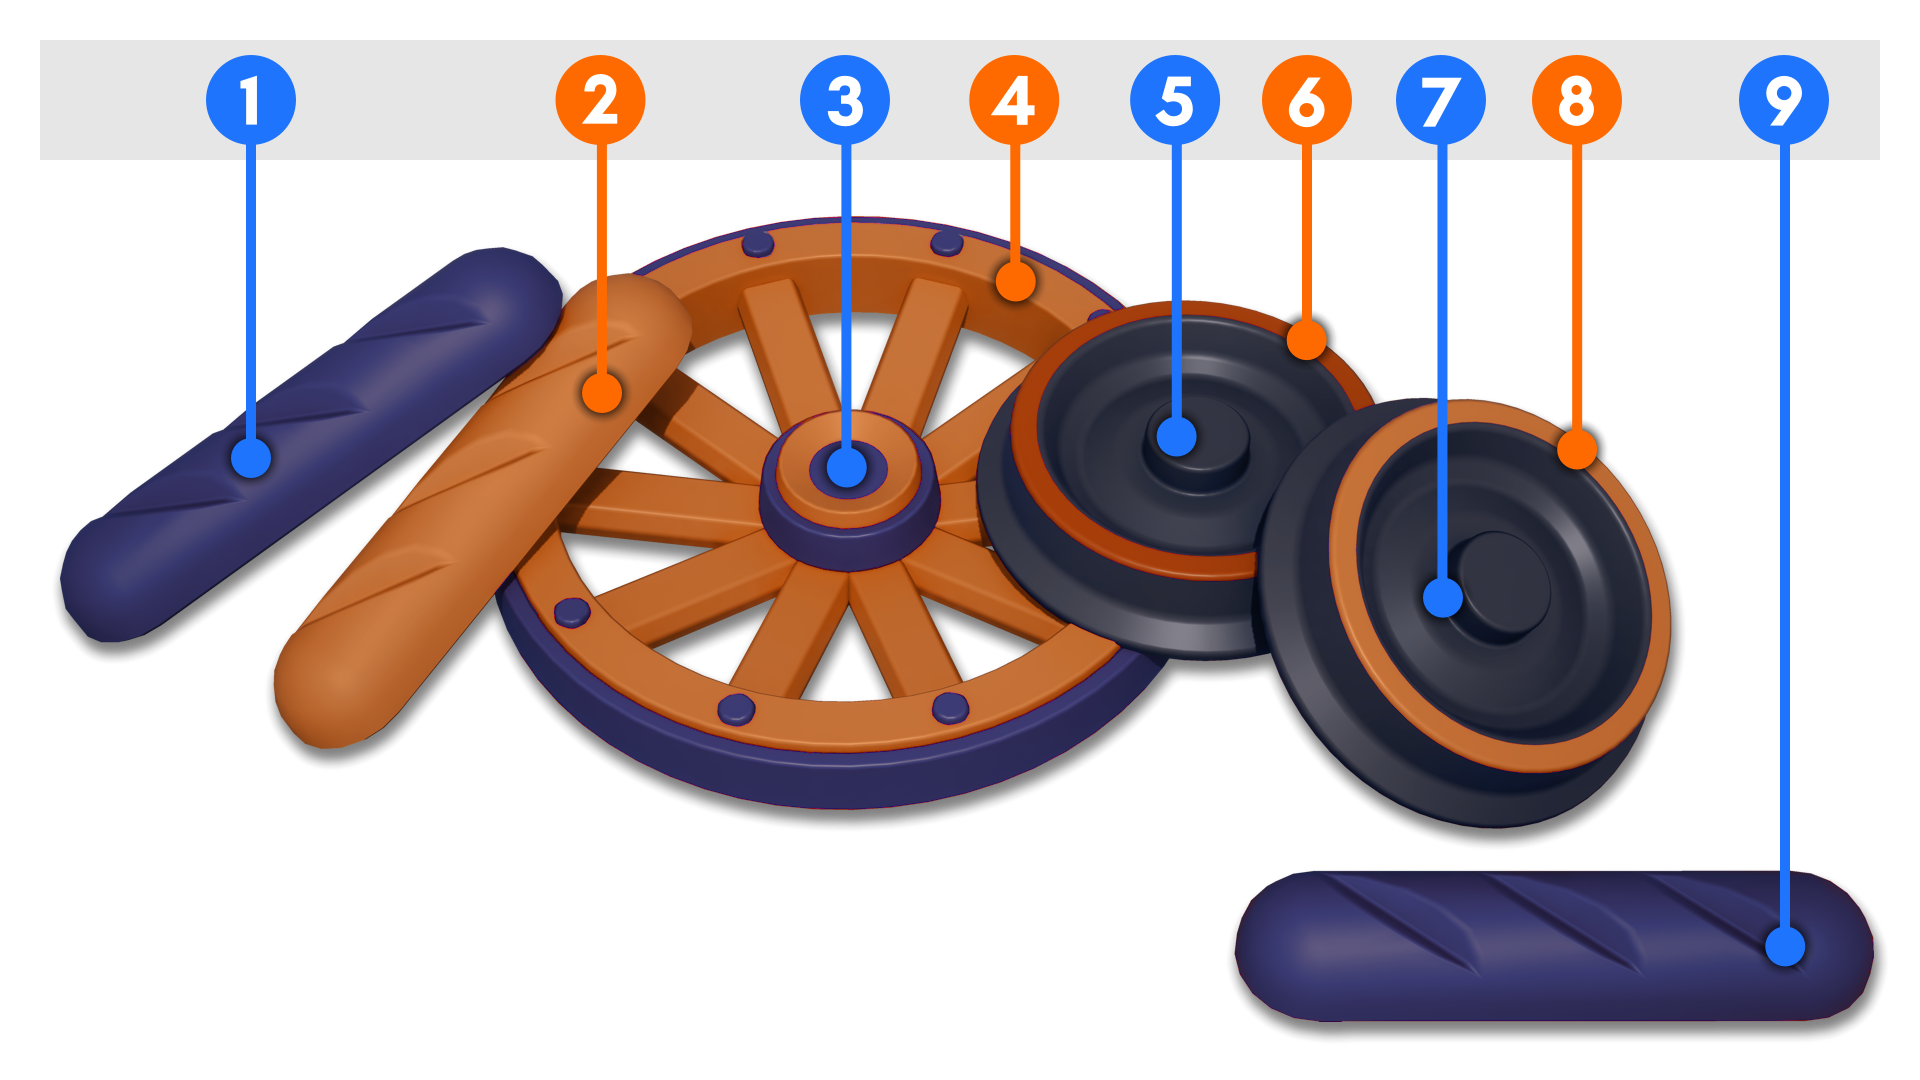
Hold Left Ctrl and hold the Left Mouse Button to start painting bricks with material only. Observe how the selected color is blue, but we're only painting the Metallic material.
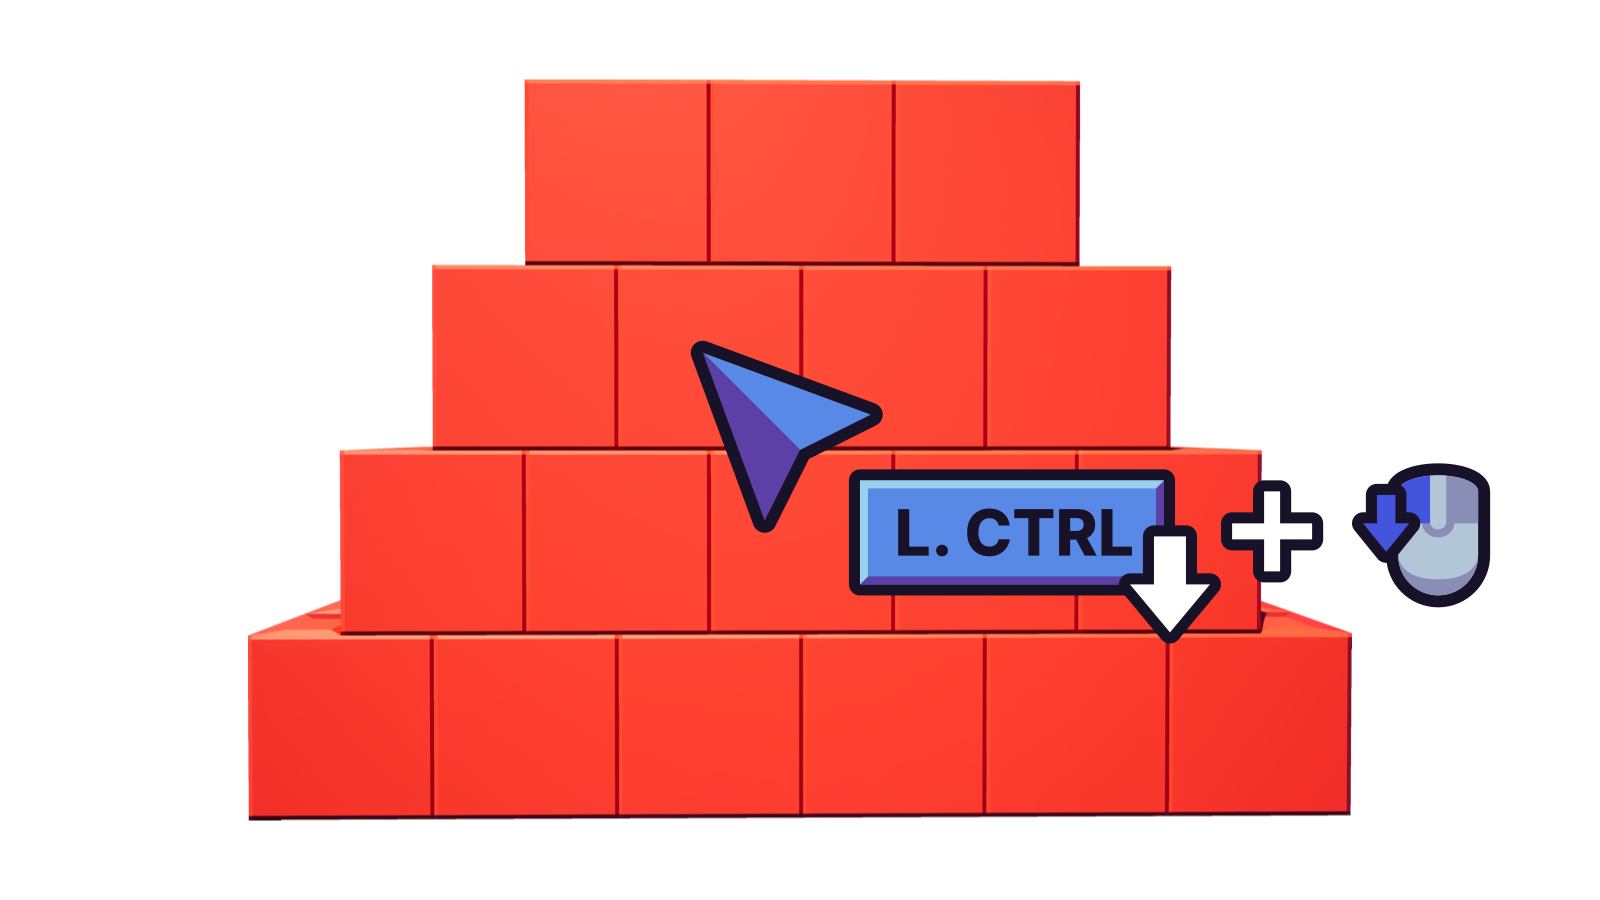
While holding Left Ctrl, the Painter will paint both the current material and the current material intensity level, but not the current color.
Release the Left Mouse Button once you are done with painting bricks.
Note
Holding Left Ctrl to paint with material only will not affect how entities are painted. They are still painted with the currently selected color.
Fill painting★
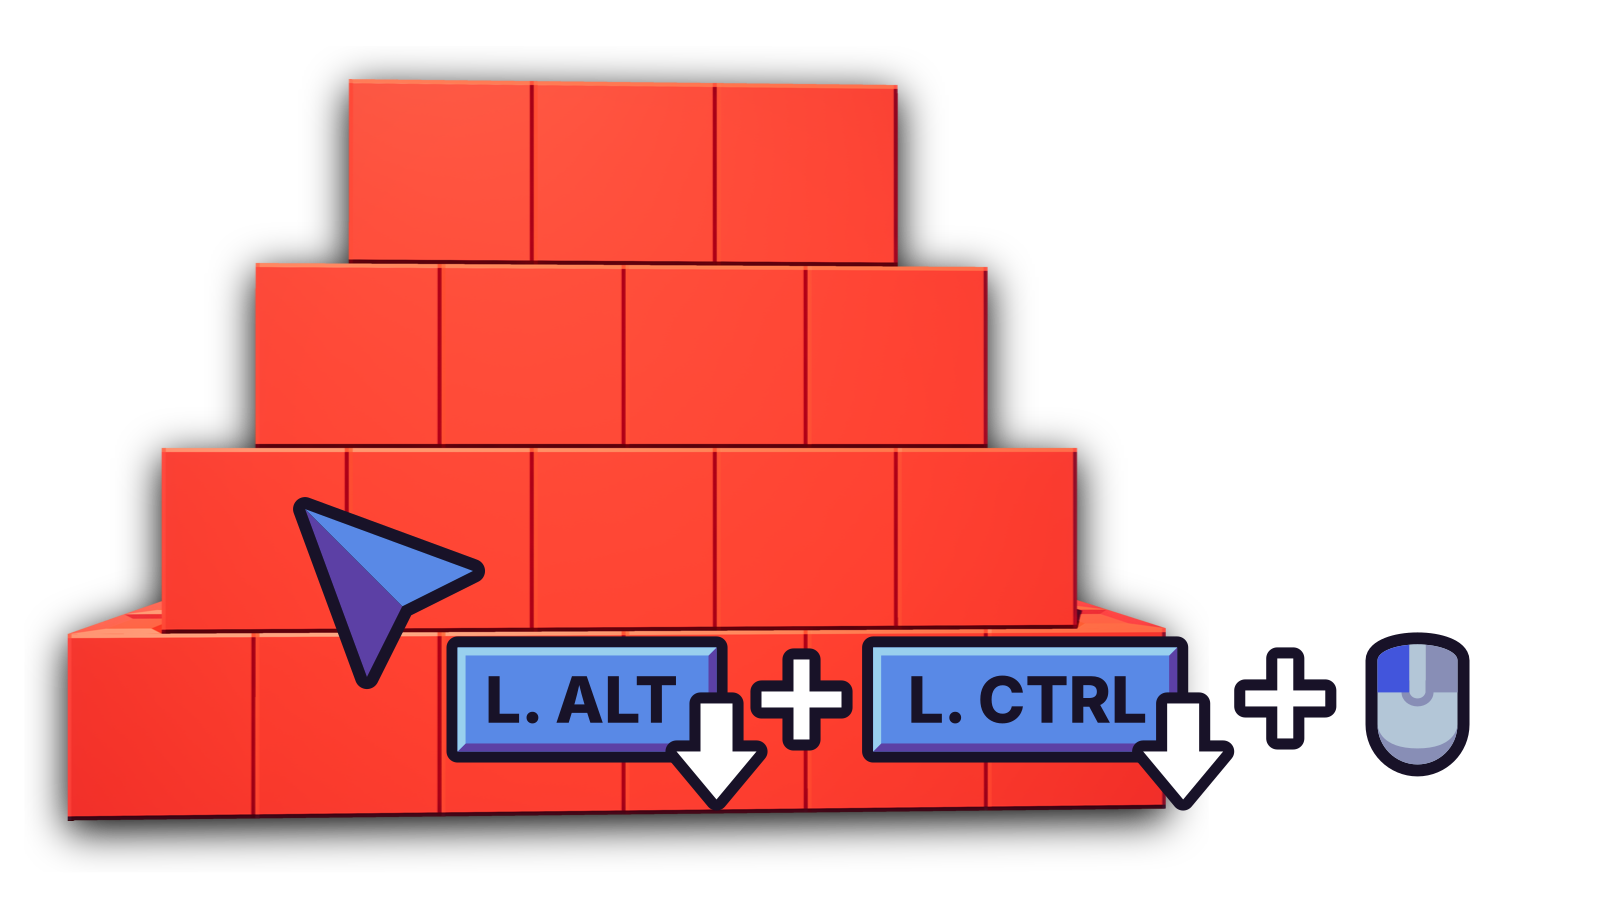
To fill paint bricks with the Painter, simply aim at a brick and hold Left Alt then click the Left Mouse Button.
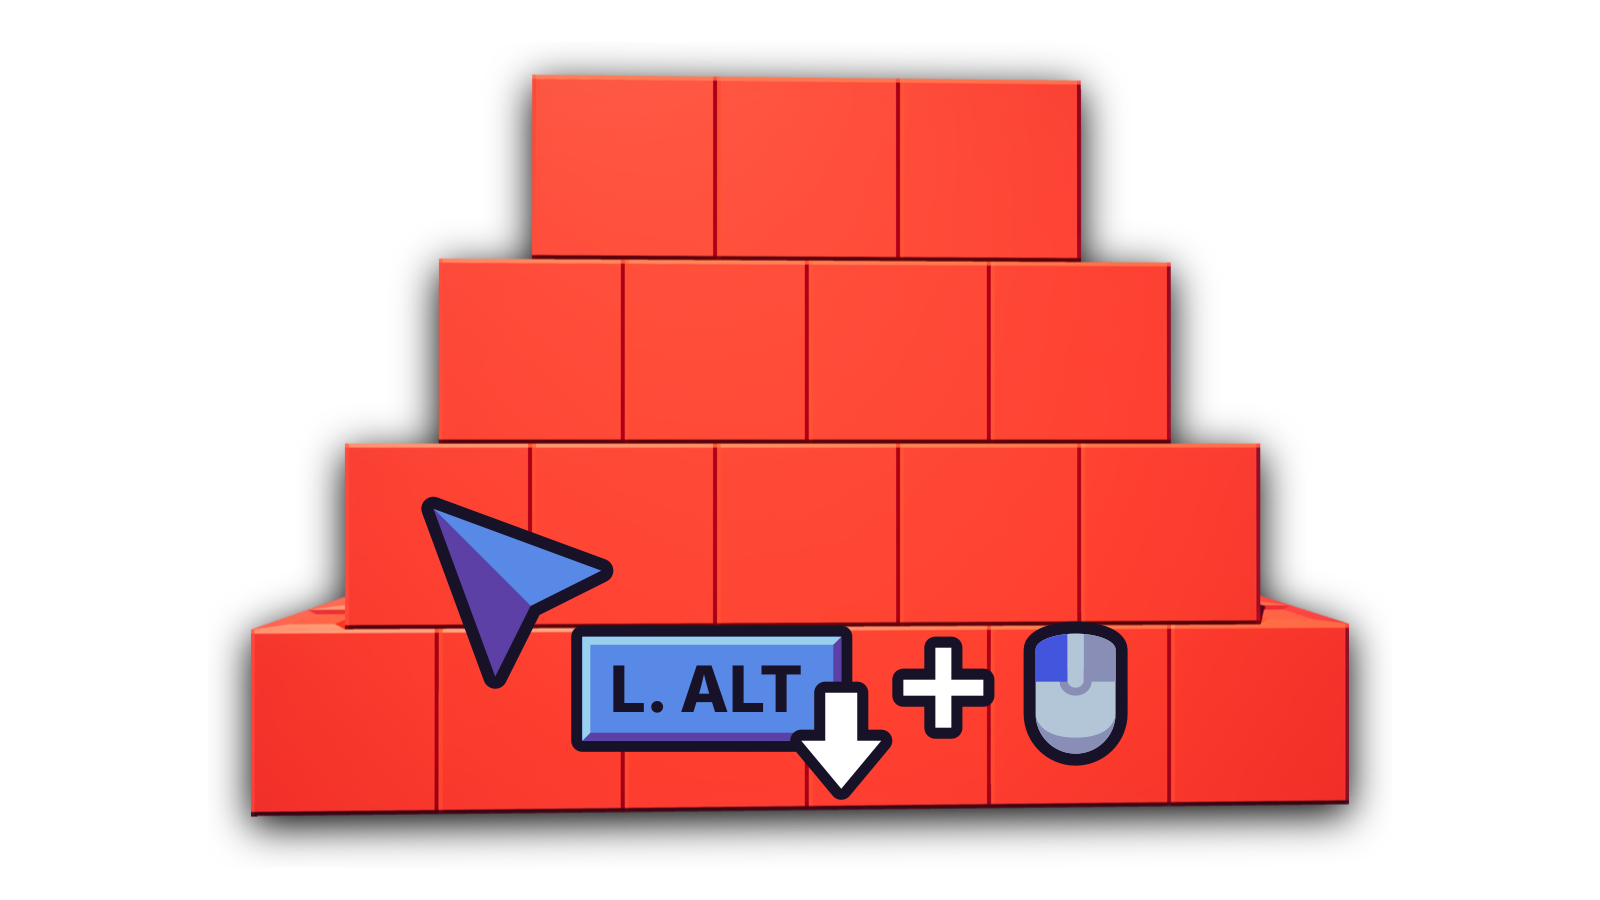
Let go of Left Alt once you're done fill painting.
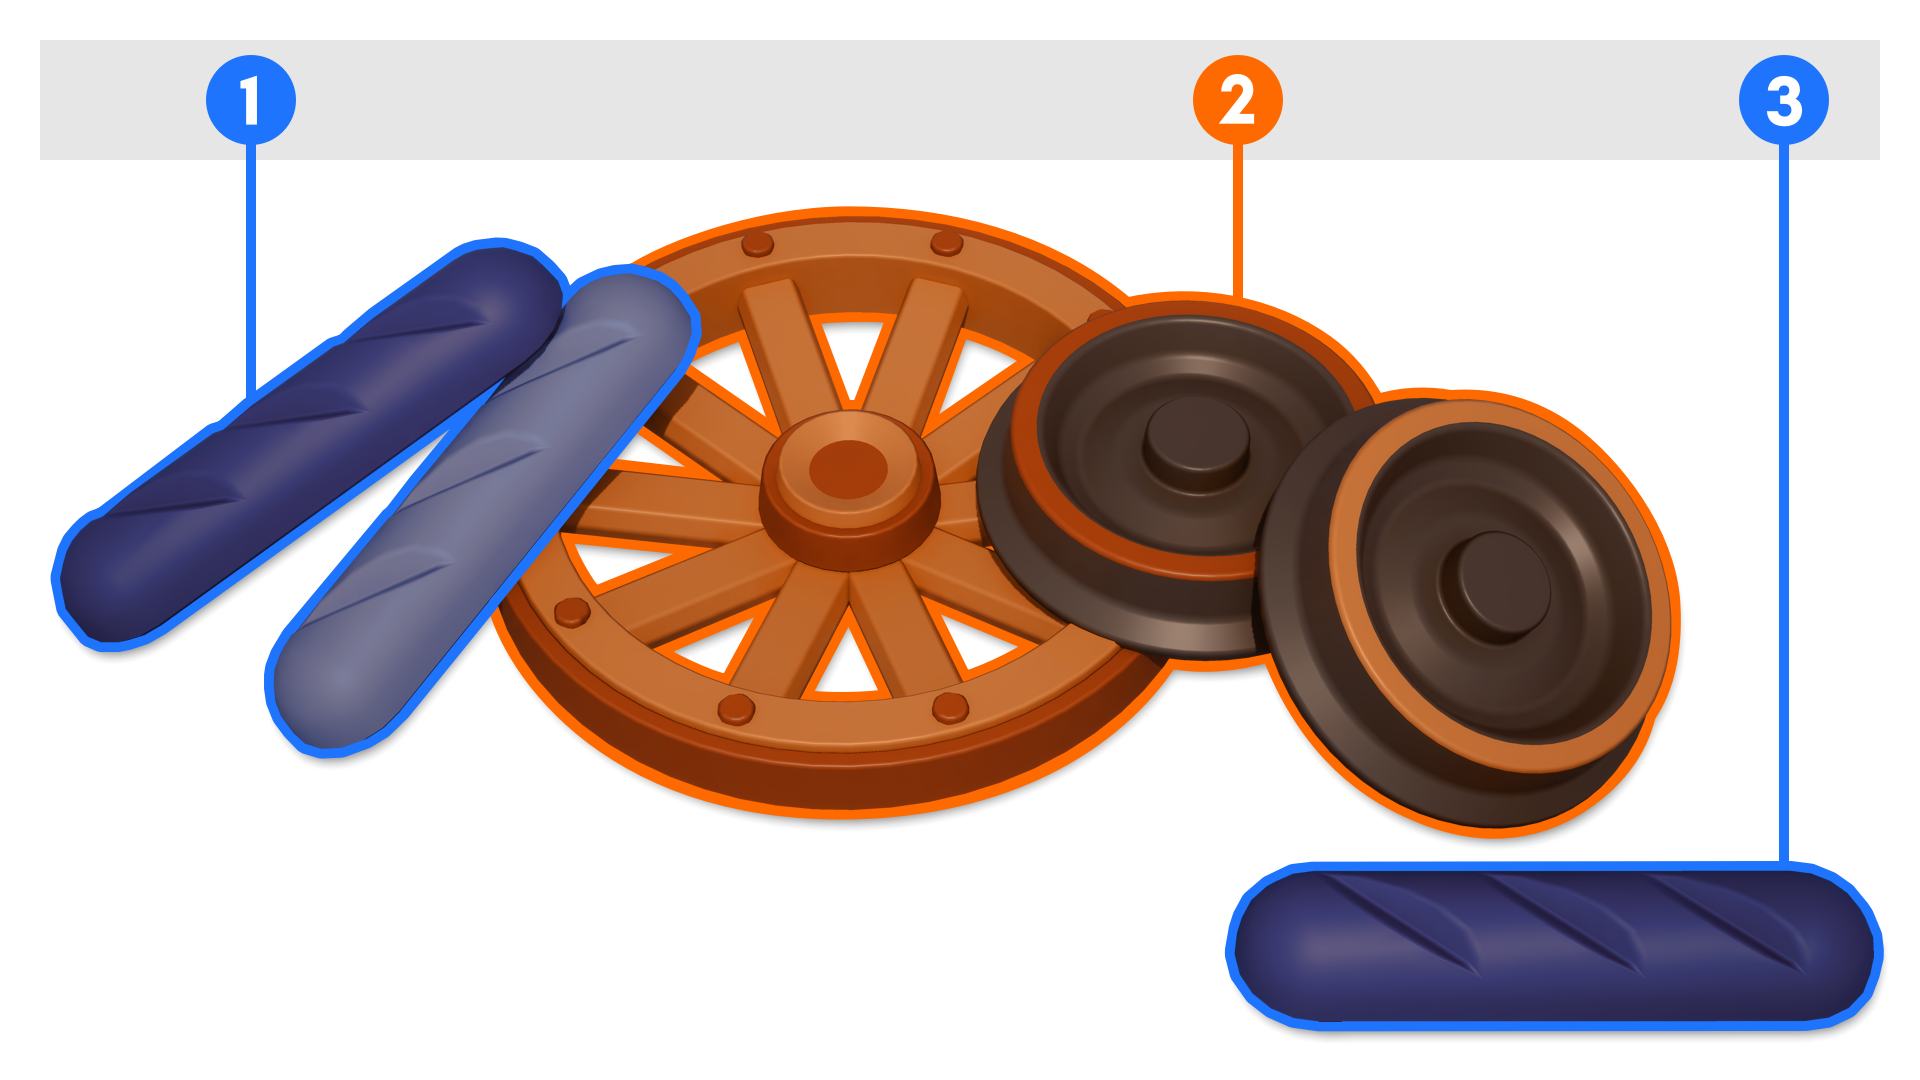
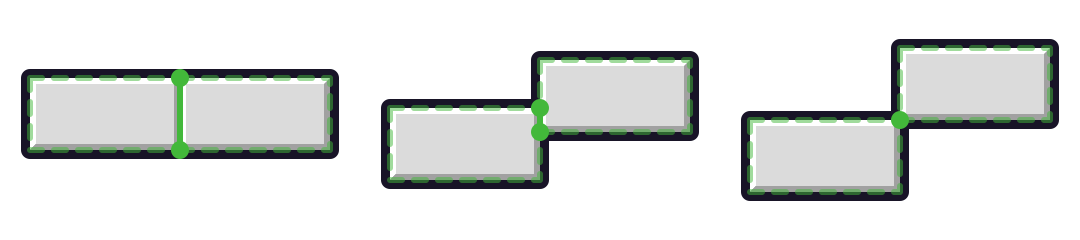
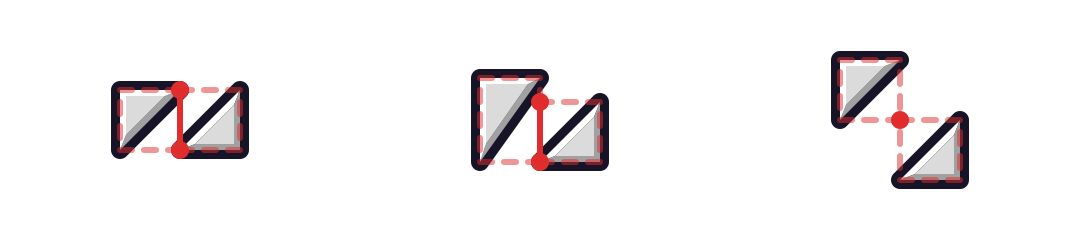
Fill painting is based on brick boundaries. This produces great results for most cases. Provided the bricks' bounding box edges or vertices collide in some way, fill painting will work as shown on the diagram below.
Warning
Fill painting does not use brick collision shapes to calculate if a brick's physically touching each other. This may result in edge cases and undesirable behavior where fill painting is applied to several bricks on accident.
Fill painting with material only★
To fill paint bricks with the current material and intensity only, aim at a brick, hold Left Ctrl and Left Alt at the same time, then click the Left Mouse Button.
Let go of Left Ctrl and Left Alt once you're done fill painting.
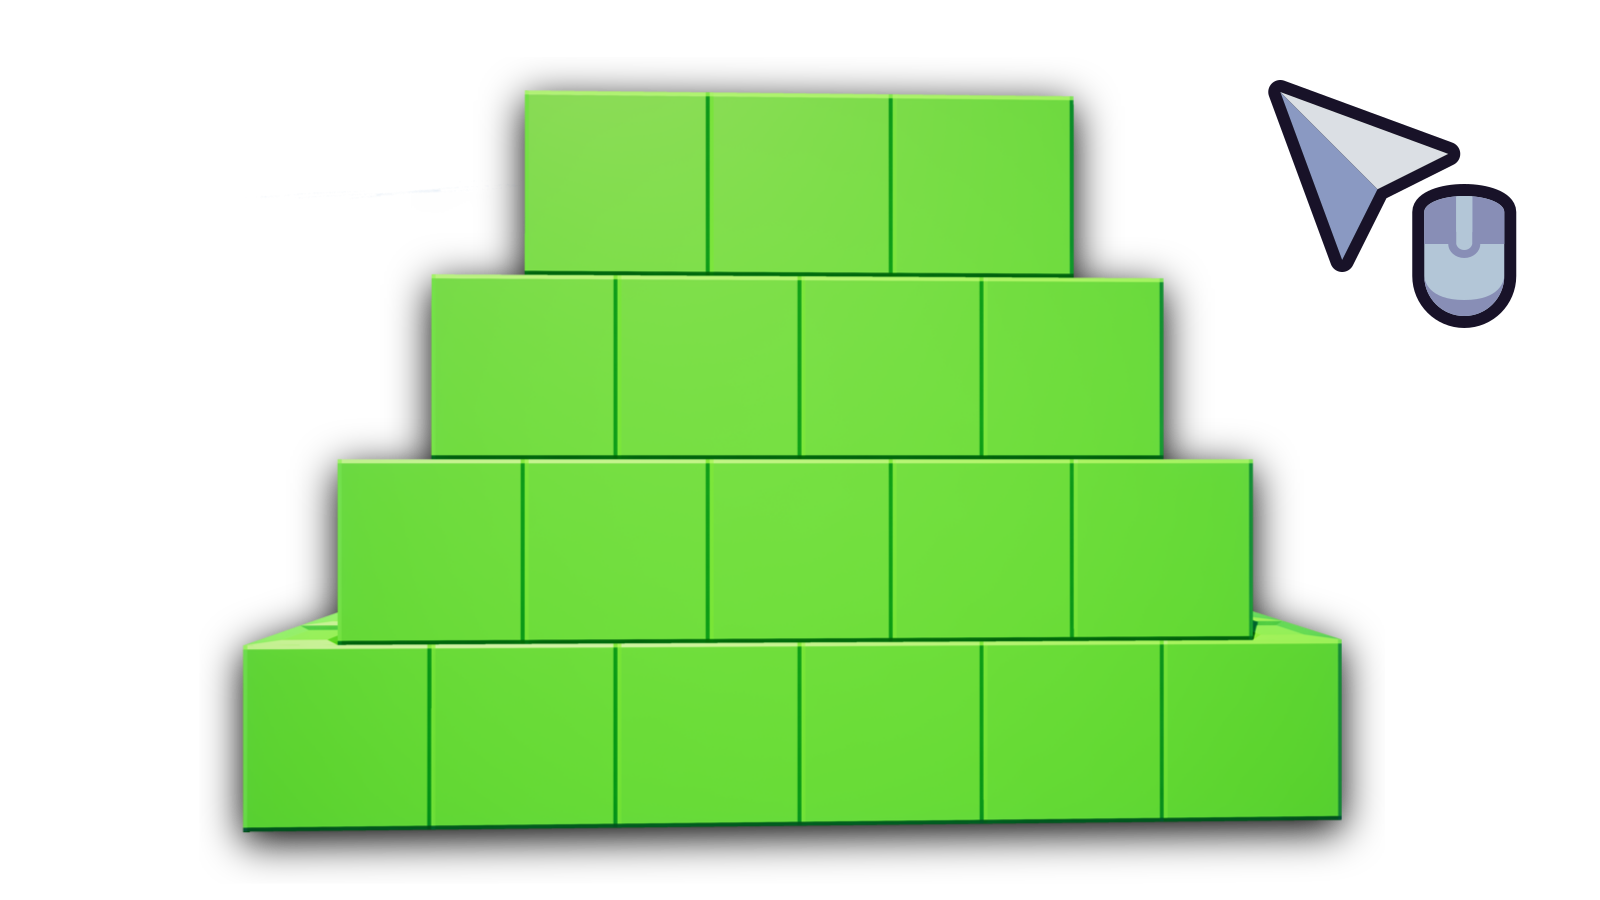
Picking colors★
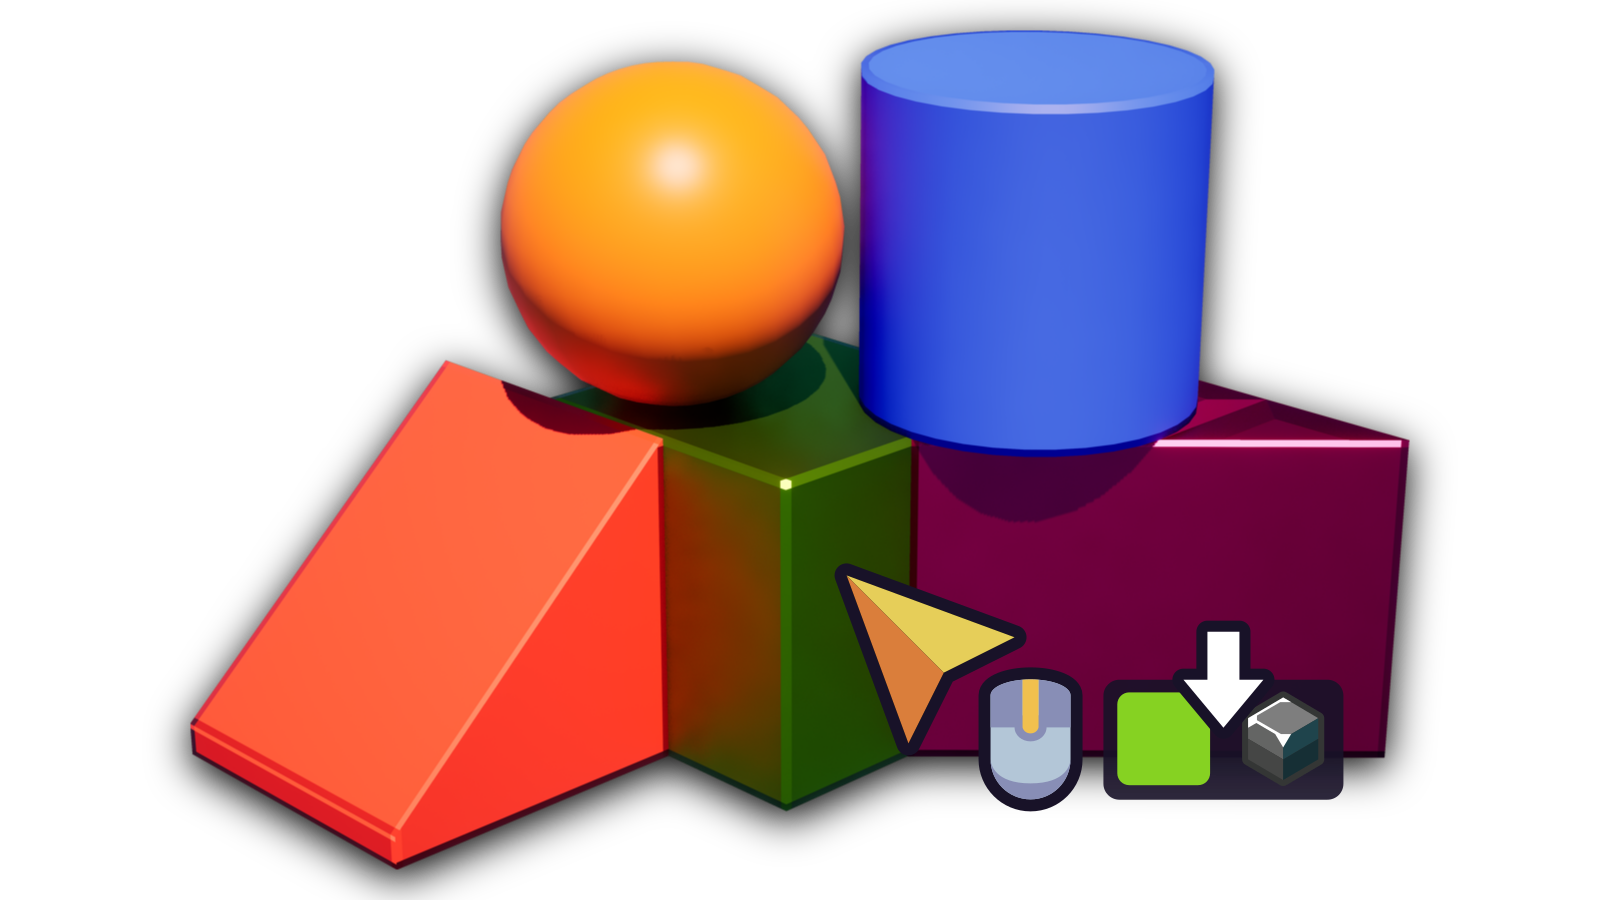
Use the Middle Mouse Button on bricks or parts of entities to pick their color, material and intensity.
Observe on the bottom right corner as the current color swatch changes.
Configuration★
Merge Paint Stroke Undo★
Enabled by default. This merges painting of individual bricks or parts of entities into consolidated actions. Disabling this option breaks down painting of individual bricks or parts of an entity into multiple detailed actions.
Note
Undo/redo actions will be split between entities and bricks regardless if the Merge Paint Stroke Undo option is enabled or disabled.